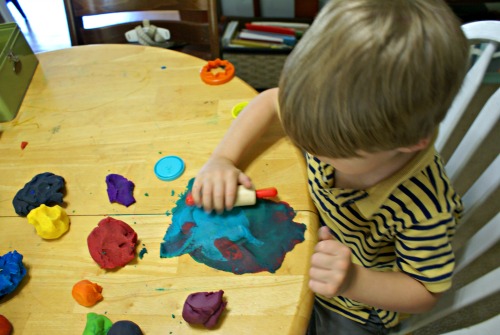
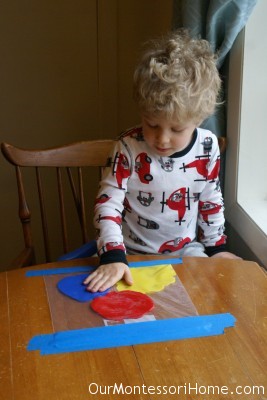
 One of Otto’s favorite things to do is mix colors. He loves mixing paint, watercolors, food coloring, and play dough. If it’s a color and there’s a chance it’ll mix with another he’s on it.
Back in December, I made a big batch of play dough for Christmas along with a few standard colors (red, blue, yellow, purple, orange). I kept a few back knowing I had this idea for color mixing and Otto would love it. Four months later…I finally brought out the play dough.
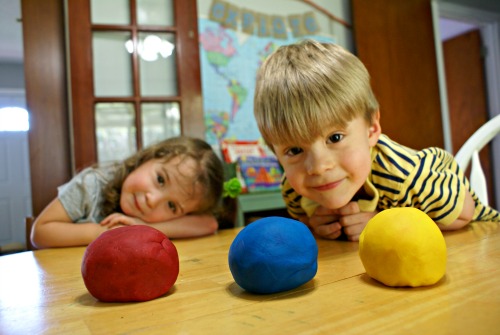 We started with our primary colors: red, blue, and yellow. I took a pinch or two for each kid to mix their own colors. At this point in his color mixing love, Otto knows what secondary colors can be made from the primary colors.
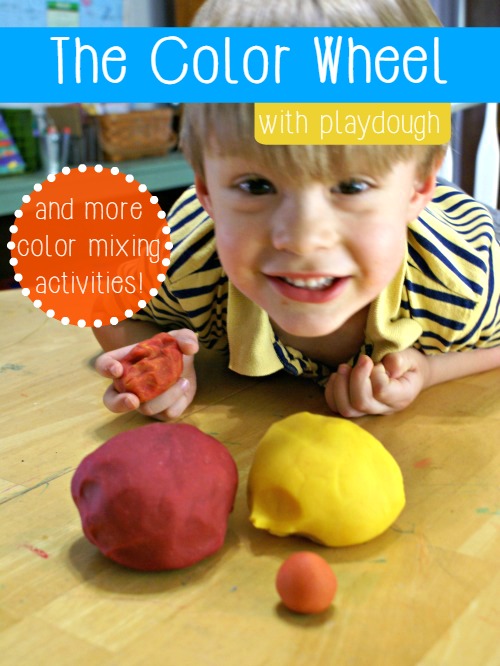
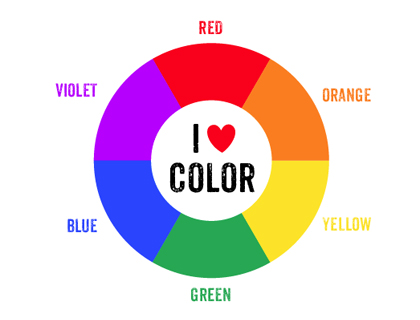
With our primary colors, we set out to mix our secondary colors:
- red + yellow = orange
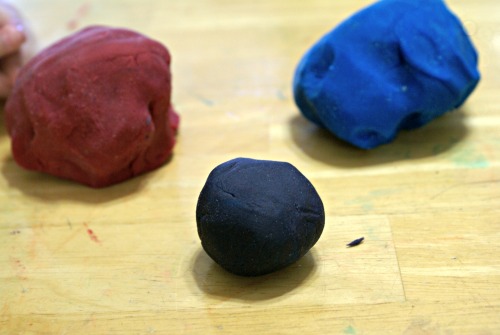
- red + blue = purple
- blue + yellow = green.
Note: Because I dyed my red so dark, our original purple turned out a deep, midnight purple. I switched that purple with one I already made, so the rest of our colors wouldn’t be affected.
Then we began mixing our tertiary colors:
- red + orange = red orange
- yellow + orange = yellow orange
- yellow + green = yellow green
- green + blue = blue green (or teal…we like teal)
- blue + purple = blue purple
- purple + red = red purple
And, of course, in true Otto fashion all the colors were mixed together at the end.
The Recipe
I use The Artful Parent’s Candy Cane Play Dough recipe when I want to make a large batch. Now, this makes a huge batch. The very first time I made it I wasn’t paying attention to the quantity and dyed the whole thing pink for Valentine’s Day. I ended up giving away play dough to friends and we still have some!
What I do is make the whole batch and separate it into smaller batches before dying it on wax paper or parchment paper. You still have to do this step when the dough is warm so the color mixes thoroughly, so this step may not be for little hands. Also, if you’ve got a pair of disposable gloves wear them! Otherwise you’ll have some splotchy hands for a couple of days.
This play dough saves very well and stays soft and malleable for a long time if you store it well. I usually use an old peanut butter jar.
Her No Cook Play Dough recipe is pretty much the same thing, but mixing boiling water into the dry ingredients rather than heat it on the stove.
More Color Mixing Activities
Mr. Printables has a great set of free color wheel printables
 Trillium Montessori has a lot of great ideas in for color mixing and introducing colors in their Rainbow post. I think this one might be our next step:

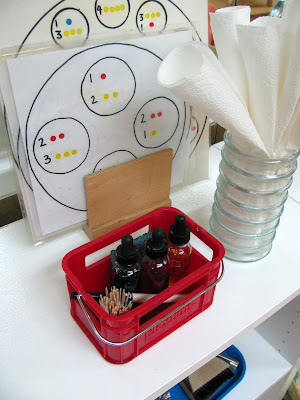
Montessori on Mars has a great tutorial on setting up a color mixing activity along with color strips:

Itty Bitty Love has some great tips (and dye ratios!) for color mixing secondary and tertiary colors:
 Color Mixing 1
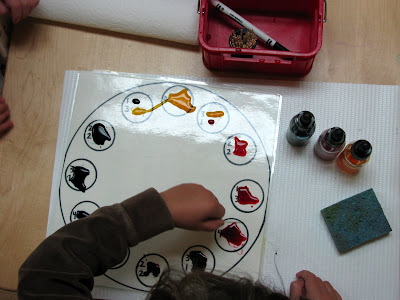 Color Mixing 2
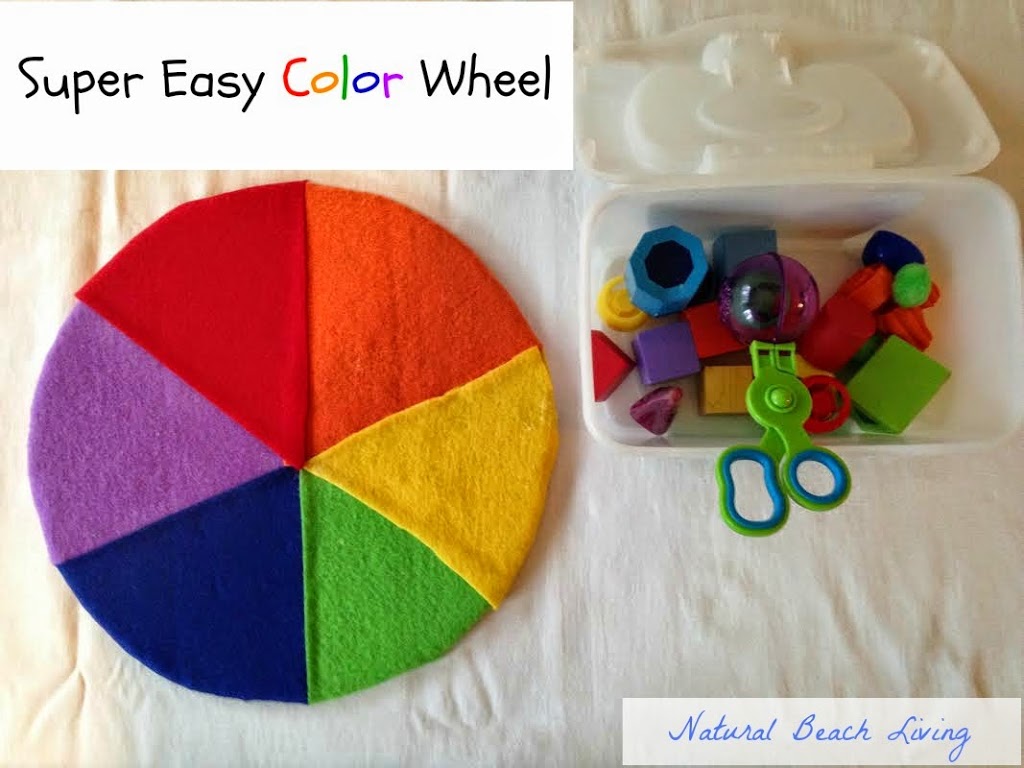
Kimberly at Natural Beach Living has a lot great color wheel activities for toddlers:
Planting Peas has five great, hands-on color mixing activities:

Though not exactly color mixing, the classic celery in dyed water is always fun. Find the details at Dose of Happy.

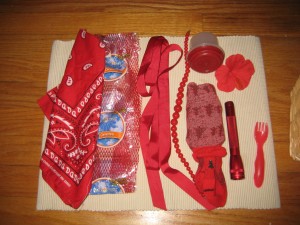
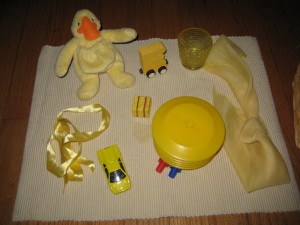
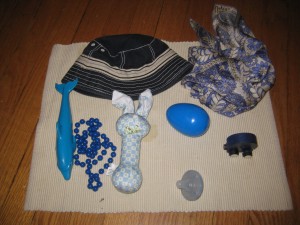
For the younger crowd, try primary color treasure baskets,
or paint in a bag! We did both of these when my kids were younger.
Color mixing would also be a great time to introduce the color tablets, if you haven’t already!
Have fun color mixing!


2 comments… add one
I love your post and I added your link to my latest post on Color Theory http://teachingfromatacklebox.blogspot.com/2015/06/color-wheel-and-color-theory-montessori.html
I love the idea with the coler mixing it is fun