One of the questions I get asked most frequently is,
How do I start teaching my children with the Montessori method at home?
The plethora of information out there can be overwhelming and it’s hard to know where to start. If you’re interested in using the Montessori Method in your home, this is what I’d suggest:
Research the Montessori Method
Get to know what the Montessori philosophy is all about and who Montessori was. My first interaction with Montessori was in a traditional college class overviewing the numerous educational philosophies. My professor painted the Montessori Method as a ridiculous free for all where the children were in charge, little to no learning happened, and the older children were inhibited by the presence of younger children. Now, having working in a Montessori school, getting my Infant/Toddler diploma, and researching the philosophy for myself I know that is the furthest thing from the truth.
Read good books on the Montessori Method. Visit a Montessori classroom to see the method in action. Many schools offer regular tours and offer parent classes to learn more about the Method. Learn about Montessori herself. Knowing Maria Montessori’s history as a doctor and her work with children with disabilities has endeared my heart to the Method more than anything. She saw potential and the ability to learn in children society had casted off as unteachable.
Evaluate Whether it Fits Your Family
From your research, knowing your children, and your season in life, evaluate whether the Montessori Method is a good fit for your family.
- What are your goals for schooling at home?
- What are your children’s learning styles?
- Will you be able to budget educational costs?
- How many children will be “doing school”?
- Does homeschooling fit into your season of life?
Make the Decision to Start
Make the decision to start, but I’d suggest to start small and one bite at a time. It’d be easy with the excitement and eagerness for the Montessori philosophy to do too much too fast.
Start with building a Montessori lifestyle: explore, respect the child, follow the child’s interests, slow down, involve them in your everyday work, and give them sensory experiences.
Then, begin to add basic Montessori activities with materials at home, like practical life and sensory activities. Read lots of books. Give children greater, supported independence. Find a school routine that works for your family and add to it slowly. Depending on the age of your children, you might want to start with 30-minutes a day and work up by 15 or 30-minute increments every week or so.
Once you feel you have a grasp on the Method and your family has a found a good routine, add to the materials and decide what type of financial investment you want to make.
Cultivate the Environment (Physical & Mental)
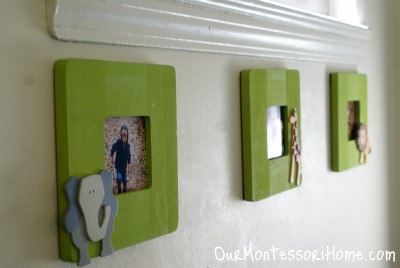
Begin to make your home a prepared environment. I wrote a pretty thourough series on the prepared environment in the summer:
Follow the Child
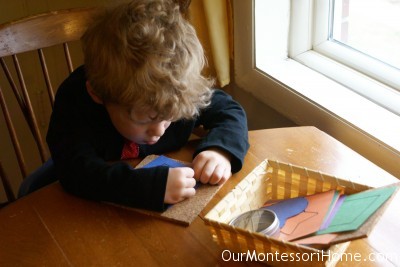
Pay attention to your child’s sensitive periods. What type of activities do they gravitate toward? Is there a particular skill or subject matter they’re particularly passionate and driven about? Stay there and help them to gain all they can.
Keep their pace. Just because they’re doing great with a pair of tongs, doesn’t mean they’re quite ready for tweezing. Perhaps give them an option to use tweezers, but don’t rush them to the next step.
Homemade Materials
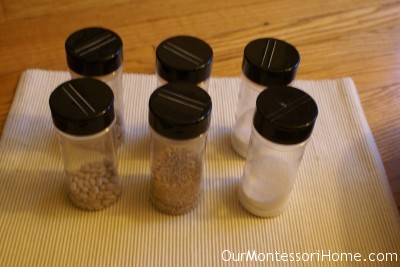
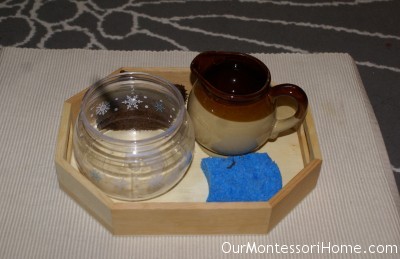
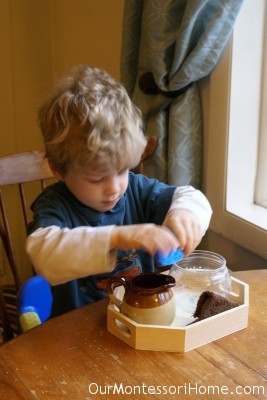
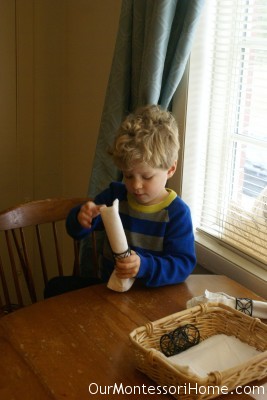
Start with homemade materials. They’re easy to make and most of the materials you have in your home. Most practical life activities can be supplied in the family kitchen: bowls, spoons, tongs, pitchers, measuring cups (for nesting), alunimum cans, and herb jars (sound cylinders).
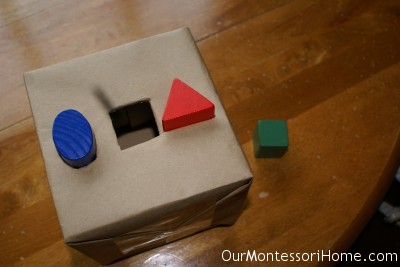
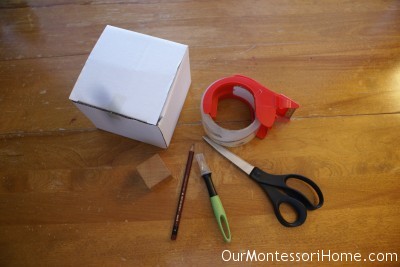
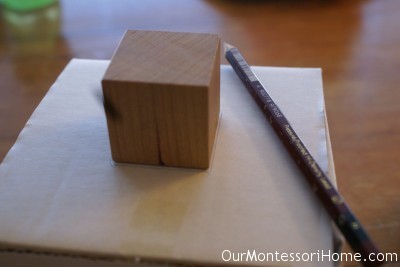
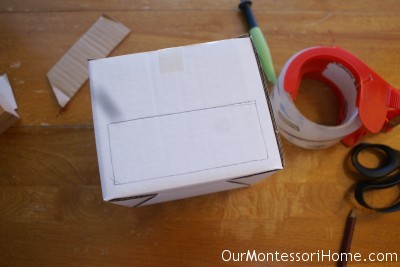
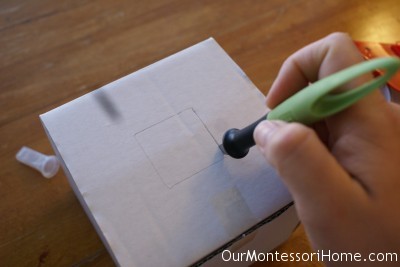
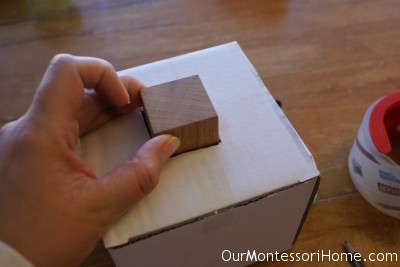
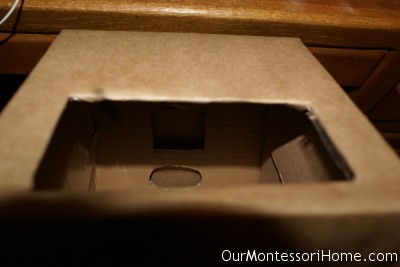
Cardboard boxes are great for making imbucare boxes, lacing cards, and open and close activities.
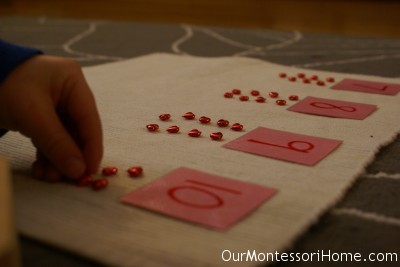
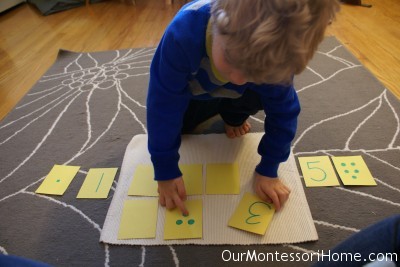
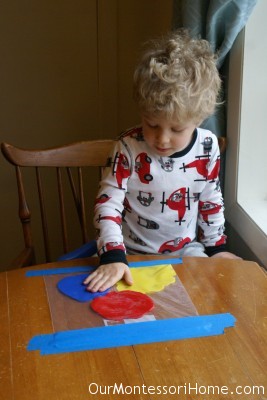
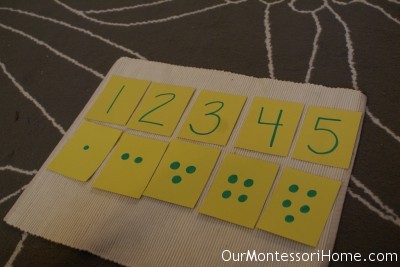
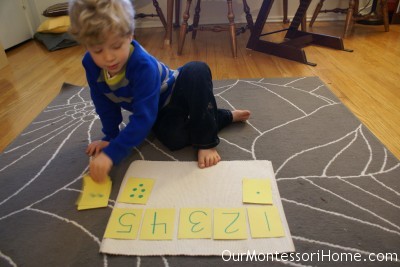
Here are a few homemade materials I’ve made:
***
Starting Montessori homeschooling can be a big endeavor, but you can adapt and add a little bit here and there while you getting your feet wet until you find what works best for you.
Recommended Reading*
- The Montessori Method
 , Maria Montessori
- Montessori from the Start: The Child at Home, from Birth to Age Three
 , Paula Polk Lillard
- Montessori: A Modern Approach
 , Paula Polk Lillard
- How To Raise An Amazing Child the Montessori Way
 , Tim Seldin
- The Essential Montessori: An Introduction to the Woman, the Writings, the Method, and the Movement
 , Elizabeth G. Hainstock
- Teaching Montessori in the Home: Pre-School Years
 , Elizabeth G. Hainstock
*affiliate links
